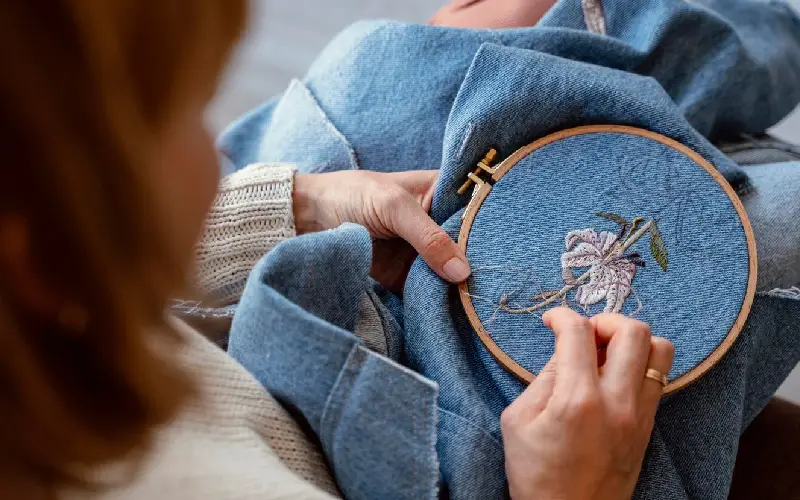
Cross stitching is a soothing and fulfilling pastime that has grown in popularity due to its ease of use and creative freedom. However, if you’re just starting out knowing a cross stitch pattern can feel like deciphering a secret code. Knowing how to appropriately appraise these designs, can help you sew with confidence and avoid common mistakes. Whether you’re new to the trade or looking to improve your skills, learning the fundamentals of pattern reading is essential especially if you’re inspired by the emergence of hand embroidery on the Sunshine Coast, Queensland and other creative areas.
- Understand the Pattern Grid
Every cross stitch pattern is laid out on a grid, much like graph paper. Each square on the grid represents one stitch on your fabric. Patterns are usually numbered along the top and side to help you keep track of your place. Larger projects may have the grid broken into sections for easier navigation. Familiarise yourself with these sections before you begin.
- Know What the Symbols Mean
Each square on the grid will contain a symbol, this represents a specific colour of thread (floss). These symbols are explained in a legend or key that accompanies the pattern. It’s essential to refer back to this legend frequently. Some designs utilise black and white symbols while others use colour codes; for the greatest results print or examine your pattern in its proper format.
- Learn the Colour Codes
Cross stitch patterns typically use standard thread brands, such as DMC or Anchor. The key will display the floss colour name, brand code, and grid symbol. If you’re looking for hand embroidery supplies in Sunshine Coast, QLD, check sure your local business has the right thread brand or can recommend alternatives.
- Identify the Centre of the Pattern
Most patterns use arrows or lines to denote the middle point. To ensure the design is properly positioned start stitching from the centre of your fabric. Fold the fabric in half both ways to determine the centre, then align it with the centre of your pattern.
- Check for Special Stitches and Extras
Some patterns use half stitches, backstitching or French knots, which are marked differently, from conventional cross stitches. These information are frequently mentioned separately in the key, or highlighted prominently on the chart. Don’t skip these; they give depth and detail to your final product.
- Keep Your Place as You Go
Marking off stitches as you finish them, keeps you on pace. You can use a pencil, highlighter or a digital app. This is especially useful for larger patterns when it is easy to lose your bearings. Many cross stitchers, including those doing hand needlework on the Sunshine Coast, Queensland swear by this method for avoiding mistakes.
Conclusion
Reading a cross stitch pattern can be difficult at first, but with enough experience, it becomes easier. Understanding the layout, symbols, and directions allows you to work more quickly and with less irritation. So grab your hoop and floss; there’s a world of embroidery to discover, from the Sunshine Coast to Queensland and beyond!
